Keeping your phone and keyboard clean is essential for both hygiene and maintaining device performance. These gadgets accompany you daily, accumulating dust, oils, and germs. However, cleaning them improperly can lead to damage. This guide will walk you through safe, practical steps to clean your phone and keyboard effectively.
Why Cleaning Your Devices Matters
Phones and keyboards are among the most frequently touched items we use. They can harbor bacteria and dirt that might contribute to illness or unpleasant odors. Regular cleaning not only improves hygiene but can also prevent sticky keys and responsive screens caused by buildup.
What You Need Before You Start
Before cleaning, gather these safe materials to avoid damaging your devices:
– Microfiber cloths: soft and lint-free
– Isopropyl alcohol (70% or less)
– Distilled water
– Cotton swabs (Q-tips)
– Soft-bristle brush or clean, dry paintbrush
– Compressed air can (optional, for keyboards)
– Screen-safe cleaning wipes (optional)
Important: Avoid using bleach, ammonia, or abrasive cleaners on electronic devices.
—
Cleaning Your Phone Safely
Step 1: Power Off and Unplug
Always turn off your phone and unplug any cables. This reduces the risk of short circuits or damage during cleaning.
Step 2: Remove Case and Accessories
Take off your phone case, screen protectors, and any accessories. Clean these items separately according to their material.
Step 3: Prepare Cleaning Solution
Mix equal parts distilled water and isopropyl alcohol (70% or less) in a spray bottle, or use pre-moistened screen-safe wipes. Avoid cleaning solutions with excessive moisture.
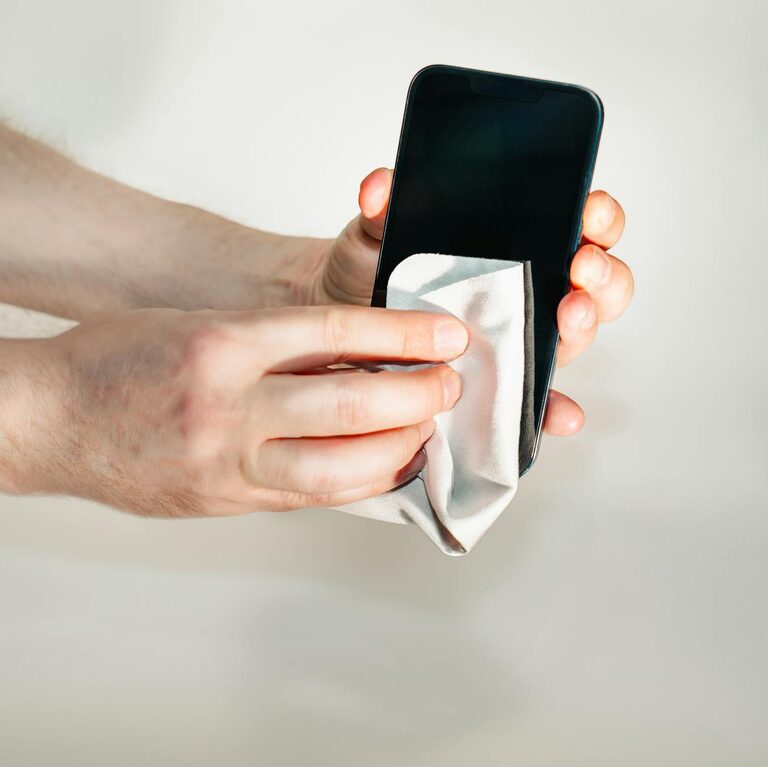
Step 4: Wipe the Phone Gently
Lightly dampen a microfiber cloth with the solution—do not soak it. Wipe the phone’s surfaces carefully, avoiding openings like ports, speaker holes, and microphones.
Step 5: Clean Around Buttons and Ports
Use a dry cotton swab or a soft-bristle brush to remove dust and grime around buttons, cameras, and ports.
Step 6: Dry Your Phone
Let your phone air dry completely before turning it back on or attaching accessories.
—
Cleaning Your Keyboard Safely
Step 1: Turn Off and Unplug
Disconnect your keyboard from the computer or turn it off if it’s wireless. Remove batteries if applicable.
Step 2: Remove Loose Debris
Turn the keyboard upside down and gently shake it to dislodge crumbs and dust. Use compressed air or a soft brush to clean between the keys.
Step 3: Clean the Key Surfaces
Lightly moisten a microfiber cloth or cleaning wipe with the alcohol-water solution. Wipe each key and the keyboard surface carefully.
Step 4: Detail Cleaning Between Keys
Use cotton swabs dipped in the cleaning solution to reach tight spaces. A soft brush can also help get between the keys without dislodging them.
Step 5: For Mechanical Keyboards: Remove Keycaps (Optional)
If you’re comfortable, remove keycaps to clean underneath. Soak the keycaps in a bowl of warm soapy water, dry fully before replacing.
Step 6: Let It Dry
Allow the keyboard to air dry thoroughly before reconnecting or turning it on.
—
Additional Tips for Maintaining Clean Devices
– Clean your devices weekly or as needed, depending on use.
– Wash hands before using devices to reduce dirt buildup.
– Avoid eating near your keyboard or phone.
– Use keyboard covers or phone cases that are easy to clean.
– Store your devices in clean places when not in use.
—
Conclusion
Regular cleaning of your phone and keyboard helps keep germs at bay and extends the life of your devices. Using simple household supplies and following safe techniques ensures your gadgets stay clean without damage. Remember, gentle cleaning and avoiding moisture in ports are key. Make device cleaning a simple routine, and enjoy a more hygienic tech experience!